How to Change the Signature on Your DFA Passport?
Have you ever looked at your passport and realized your signature doesn’t quite match how you sign now? Don’t worry! Updating your passport signature in the Philippines is simpler than you might think. As someone who’s helped countless people through this process, I’m here to guide you step-by-step.
Why Update Your Passport Signature?

Your signature is more than just a scribble – it’s a key part of your identity. Here are some reasons why you might need to update it:
When Can You Update Your Signature?
The easiest time to update your signature is when you’re renewing your passport. But here’s a little-known fact: you can actually renew your passport even if it’s not close to expiring. This gives you flexibility in timing your signature update.
Required Documents
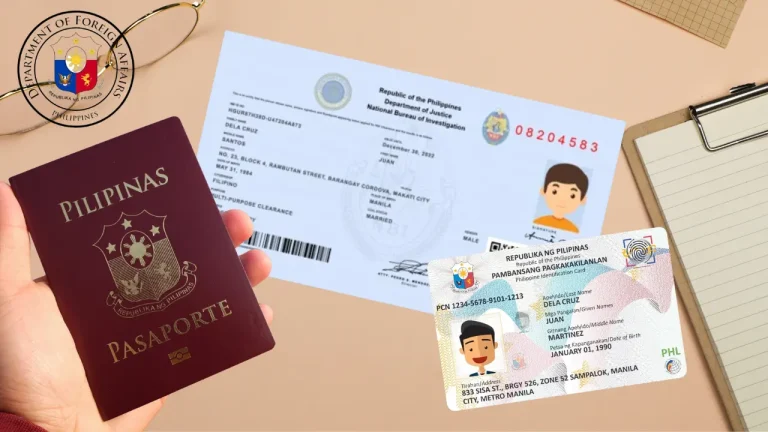
Before you head to the Department of Foreign Affairs (DFA), make sure you have:
- Your current passport
- A valid government-issued ID
- Completed passport application form
- Two recent passport-sized photos
- Any supporting legal documents (if applicable)
Step-by-Step Process to Update Your Signature
Here is step-by-step process to update you signature.
1. Book Your Appointment:-
First things first, schedule an appointment on the DFA website. Choose a convenient date and time at your nearest DFA office.
2. Gather Your Documents:-
Double-check that you have all the required documents. It’s a good idea to make photocopies of everything, just in case.
3. Fill Out the Application Form:-
Complete the passport application form carefully. Make sure all information is accurate and up-to-date.
4. Pay the Fees:-
The standard fee for passport renewal is PHP 1,200 for a 32-page passport. Have this ready in cash or any accepted payment method.
5. Show Up for Your Appointment:-
On the day of your appointment:
- Arrive on time
- Submit your documents
- Have your photo taken
- Provide your biometric information
- Sign your new signature
6. Wait for Processing:-
The typical processing time is about 15 working days. You’ll be notified when your new passport is ready.
Special Cases to Consider
Here is some common special cases!
For Minors
If you’re updating a minor’s signature, remember:
- A parent or legal guardian must be present
- Bring the child’s birth certificate
- Both the minor and guardian need valid IDs
For Married Women
If you’re updating your signature due to marriage:
- Bring your PSA marriage certificate
- Include a copy of your spouse’s valid ID
- Be prepared with any additional documents they might request
Pro Tips from Experience
Here is the Tips to make your appointment easy.
- Practice your new signature beforehand to ensure consistency.
- Dress appropriately for your passport photo – no sleeveless tops or excessive jewelry.
- Arrive at least 30 minutes before your appointment to allow for any unexpected delays.
Frequently Asked Questions
Conclusion
Updating your passport signature doesn’t have to be a headache. By following these steps and being prepared, you can smoothly navigate the process. Remember, your signature is an important part of your identity, so it’s worth taking the time to get it right. Happy travels with your updated passport!


